目次
DataFrameをエクセルに書き込む
PythonのDataFrameのデータをエクセルに書き込むにはto_excel()を使います
Python上で分析・加工したデータを「普段使いなれているエクセル」に書き込むことで、Pythonが使えない人にも情報を共有することができます
多くの会社では(残念ながら)まだエクセルを使っている場合が多いため、to_excel()はかなりの頻度で利用します
事前準備
「Pandas」というデータ解析を実施できるライブラリをインポートします
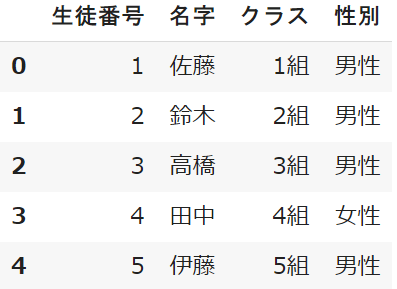
import pandas as pd※サンプルデータ:学校のテストの点数

student_data.head()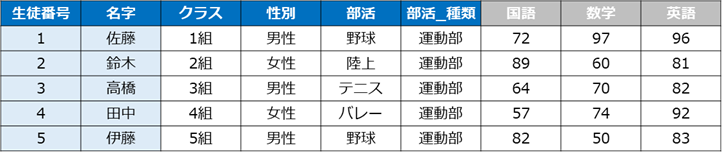
to_excelの使い方
変数.to_excel('ファイルパス/ファイル名.xlsx')to_excel()メソッドの()カッコの中にパスを指定すると、ファイルが存在しない場合は新規作成、ファイルが存在している場合は上書き保存されます
ファイル名に拡張子(.xlsx)を付けるのを忘れずに
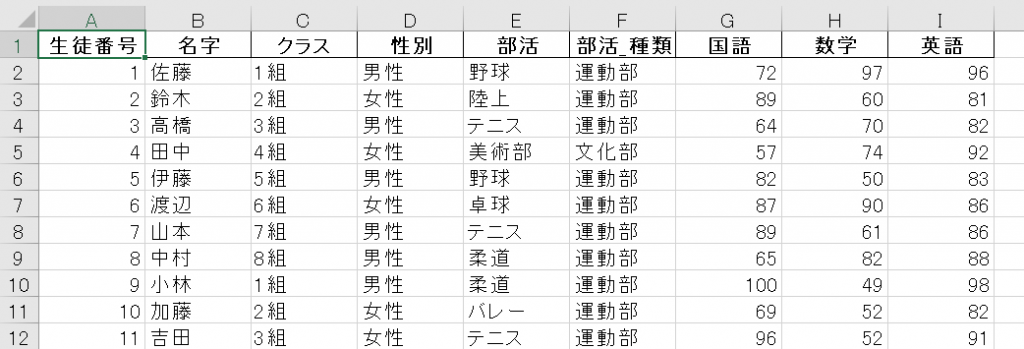
例として「学校のデータ(student_data)」のデータを「output」という名前でエクセルとして保存します
student_data.to_excel('/content/drive/MyDrive/Python/output.xlsx')
パラメータ
おすすめ度を判定:★★★=必須|★★☆=推奨|★☆☆=任意
★★★:ファイルパス/ファイル名
student_data.to_excel('/content/drive/MyDrive/Python/output.xlsx')前述した通り、ファイルパスとファイル名を指定しましょう
★★☆:index(インデックス)
student_data.to_excel('/content/drive/MyDrive/Python/output.xlsx',
index=True)デフォルトでは「index=True」でインデックスありで書き出されますが、「index=False」にするとインデックスなしで出力されます
インデックス(0,1,2,3…)はエクセルでは使わないことが多いので、「False」の設定をお勧めします
下記は「index=False」にした結果です
★☆☆:header(ヘッダー)
student_data.to_excel('/content/drive/MyDrive/Python/output.xlsx',
header=True)デフォルトでは「header=True」でヘッダーありで書き出されますが、「False」にするとヘッダー(カラム)なしで出力されます
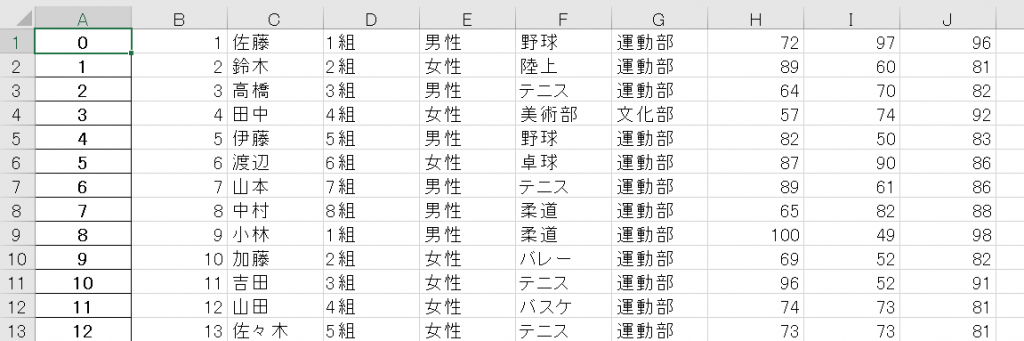
下記は「header=False」にした結果です
★☆☆:sheet_name(シート名)
student_data.to_excel('/content/drive/MyDrive/Python/output.xlsx',
                      sheet_name='テストの点数')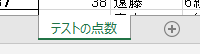
「sheet_name」はその名の通りエクセルのシート名を指定することができます
指定がない場合は「Sheet1」となります
複数のシートに書き込む方法
複数のDataFrameのデータを複数のシートに書き込む方法もあります
説明してきたto_excel()とExcelWriter()の2つを使います
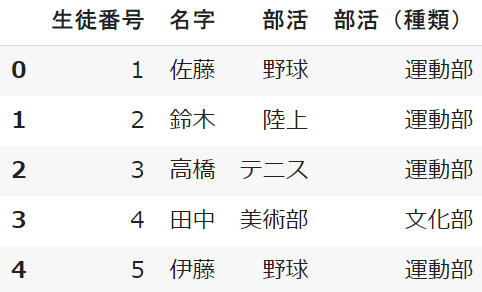
まずは「生徒名簿(student)」と「部活(club)」の2つのデータを用意します
一行目でwithブロックを使ってExcelWriter()を記述します
※withは開始と終了が必要な処理を簡潔に記述することができる便利な手法です
with pd.ExcelWriter('/content/drive/MyDrive/Python/output.xlsx') as writer:PandasのExcelWriter()にパスを記載して、「writer」とします
そしてto_excel()を利用して「writer」にDataFrameを書き込みます
※パラメータの「sheet_name」を使って、シート名も書き込みます
with pd.ExcelWriter('/content/drive/MyDrive/Python/output.xlsx') as writer:
  student.to_excel(writer, sheet_name='生徒名簿')
  club.to_excel(writer, sheet_name='部活')
まとめ
今回はPythonで加工したデータをエクセルに書き込む方法をご紹介してきました
実際のビジネスシーンではエンジニア・アナリストだけで施策が進むことは少なく、
文系の営業やクライアント担当者なども多く関わります
そんなとき「共通言語」としてのエクセルは非常に頻度が高く利用されます
ぜひ覚えて使ってみてください